Why Shoot Analogue?
Today the phone in your pocket can take technically “better” photos than the very best camera in the world not too long ago. Lenses are technically “perfect” at any realistic photo viewing distance. The latest high-end mirrorless cameras are so advanced they can track subjects at speed using AI, fire off a huge number of photos in just one second & provide the resolution you need to crop rather than zoom.
So why bother? Why return to an era when there was no AI-assisted auto-focus or algorithm-driven auto-exposure, in fact when there was no auto-focus or auto-exposure at all! Simply basic tools to help the photographer, if you were lucky.
Manual analogue photography is about the process, it is not a means to an end. Modern cameras seek to get out of your way, make photography about the photo and not the process to get there. If they do their job well you think only about the composition and not about the tools you use to capture it. By contrast with vintage cameras the the process is the destination. The end result is the reward but the real fun is to be found in all the steps that led you there.
Analogue photography isn’t fast, nor reliable, but it is fun and it is rewarding. The sense of accomplishment when you see an output that you created, truly can’t be matched. A modern process creates outputs which are at best a team effort between the photographer, the cameras computation and the computers editing software. With manual photography there is no team; you choose the imperfect lens, you make choices about exposure, you set the distance and you compose and you get the film developed in a chemical process.
In this process everything you use…a camera, a rangefinder, a light-meter….they’re all tools. They don’t influence you or the result, they simply enable you the photographer in your process. You slow down, think about the photo and value every shot. With such a considered, and thoughtful process you never know….that just might create a better result than any algorithm could.

How To Start?
So you’re found your own forgotten camera to give a second life, you’ve read the reviews and you’re excited to get going but don’t know how.
If you’re used to relying on “auto” going manual can feel intimidating but fear not…there are plenty of tools out there to get you started and it becomes second nature very quickly. You don’t need to jump straight to knowing all the answers, analogue photography isn’t a challenge to get a badge, you can use all the aids available to you and get just as much out of the process with far less frustration.
Eventually you may start to go completely DIY but that will come naturally over time.
Exposure
To get perfect exposure there are 3 variables, each with it’s own trade-offs. My advice is download a light-meter app onto your phone to get started. It will tell you all the combinations of these which will give perfect exposure and leave you to think only about those trade-offs from a creative standpoint. Alternatively pick up a camera with a light-meter and stay fully analogue, the choice is yours.
For help finding the settings and testing your camera before you start check out the testing guide.
Film Sensitivity (ISO)
This is the first choice you must make, before you ever take the camera out. How sensitive is your film to light. Unlike a digital camera once you choose you are committed for the length of that roll so choose wisely.
As a rule of thumb the more sensitive the film (the higher the ISO), the stronger the grain. Lower ISO films tend to be (but not always) finer grain (smoother, more detail). Finer grain doesn’t always mean better, sometimes that is the look you want, after all if technical perfection was the aim you have your digital camera still.
Each film has it’s own character too so read reviews, look at sample pictures and find the “look” you like. Black and White or Colour? Contrast or Dynamic Range? Warm or Cool? Accurate or Create Colours? The choice is yours.
Your choice will influence your options for 2 and 3 though so choose wisely. In general…
- ISO50-200: Perfect for outdoor photography on sunny days or shallow depth of field (blurring backgrounds)
- ISO400: The all rounder, very flexible on the right camera
- ISO800+: Indoors, night photography or where a big depth of field (everything in focus) is key.


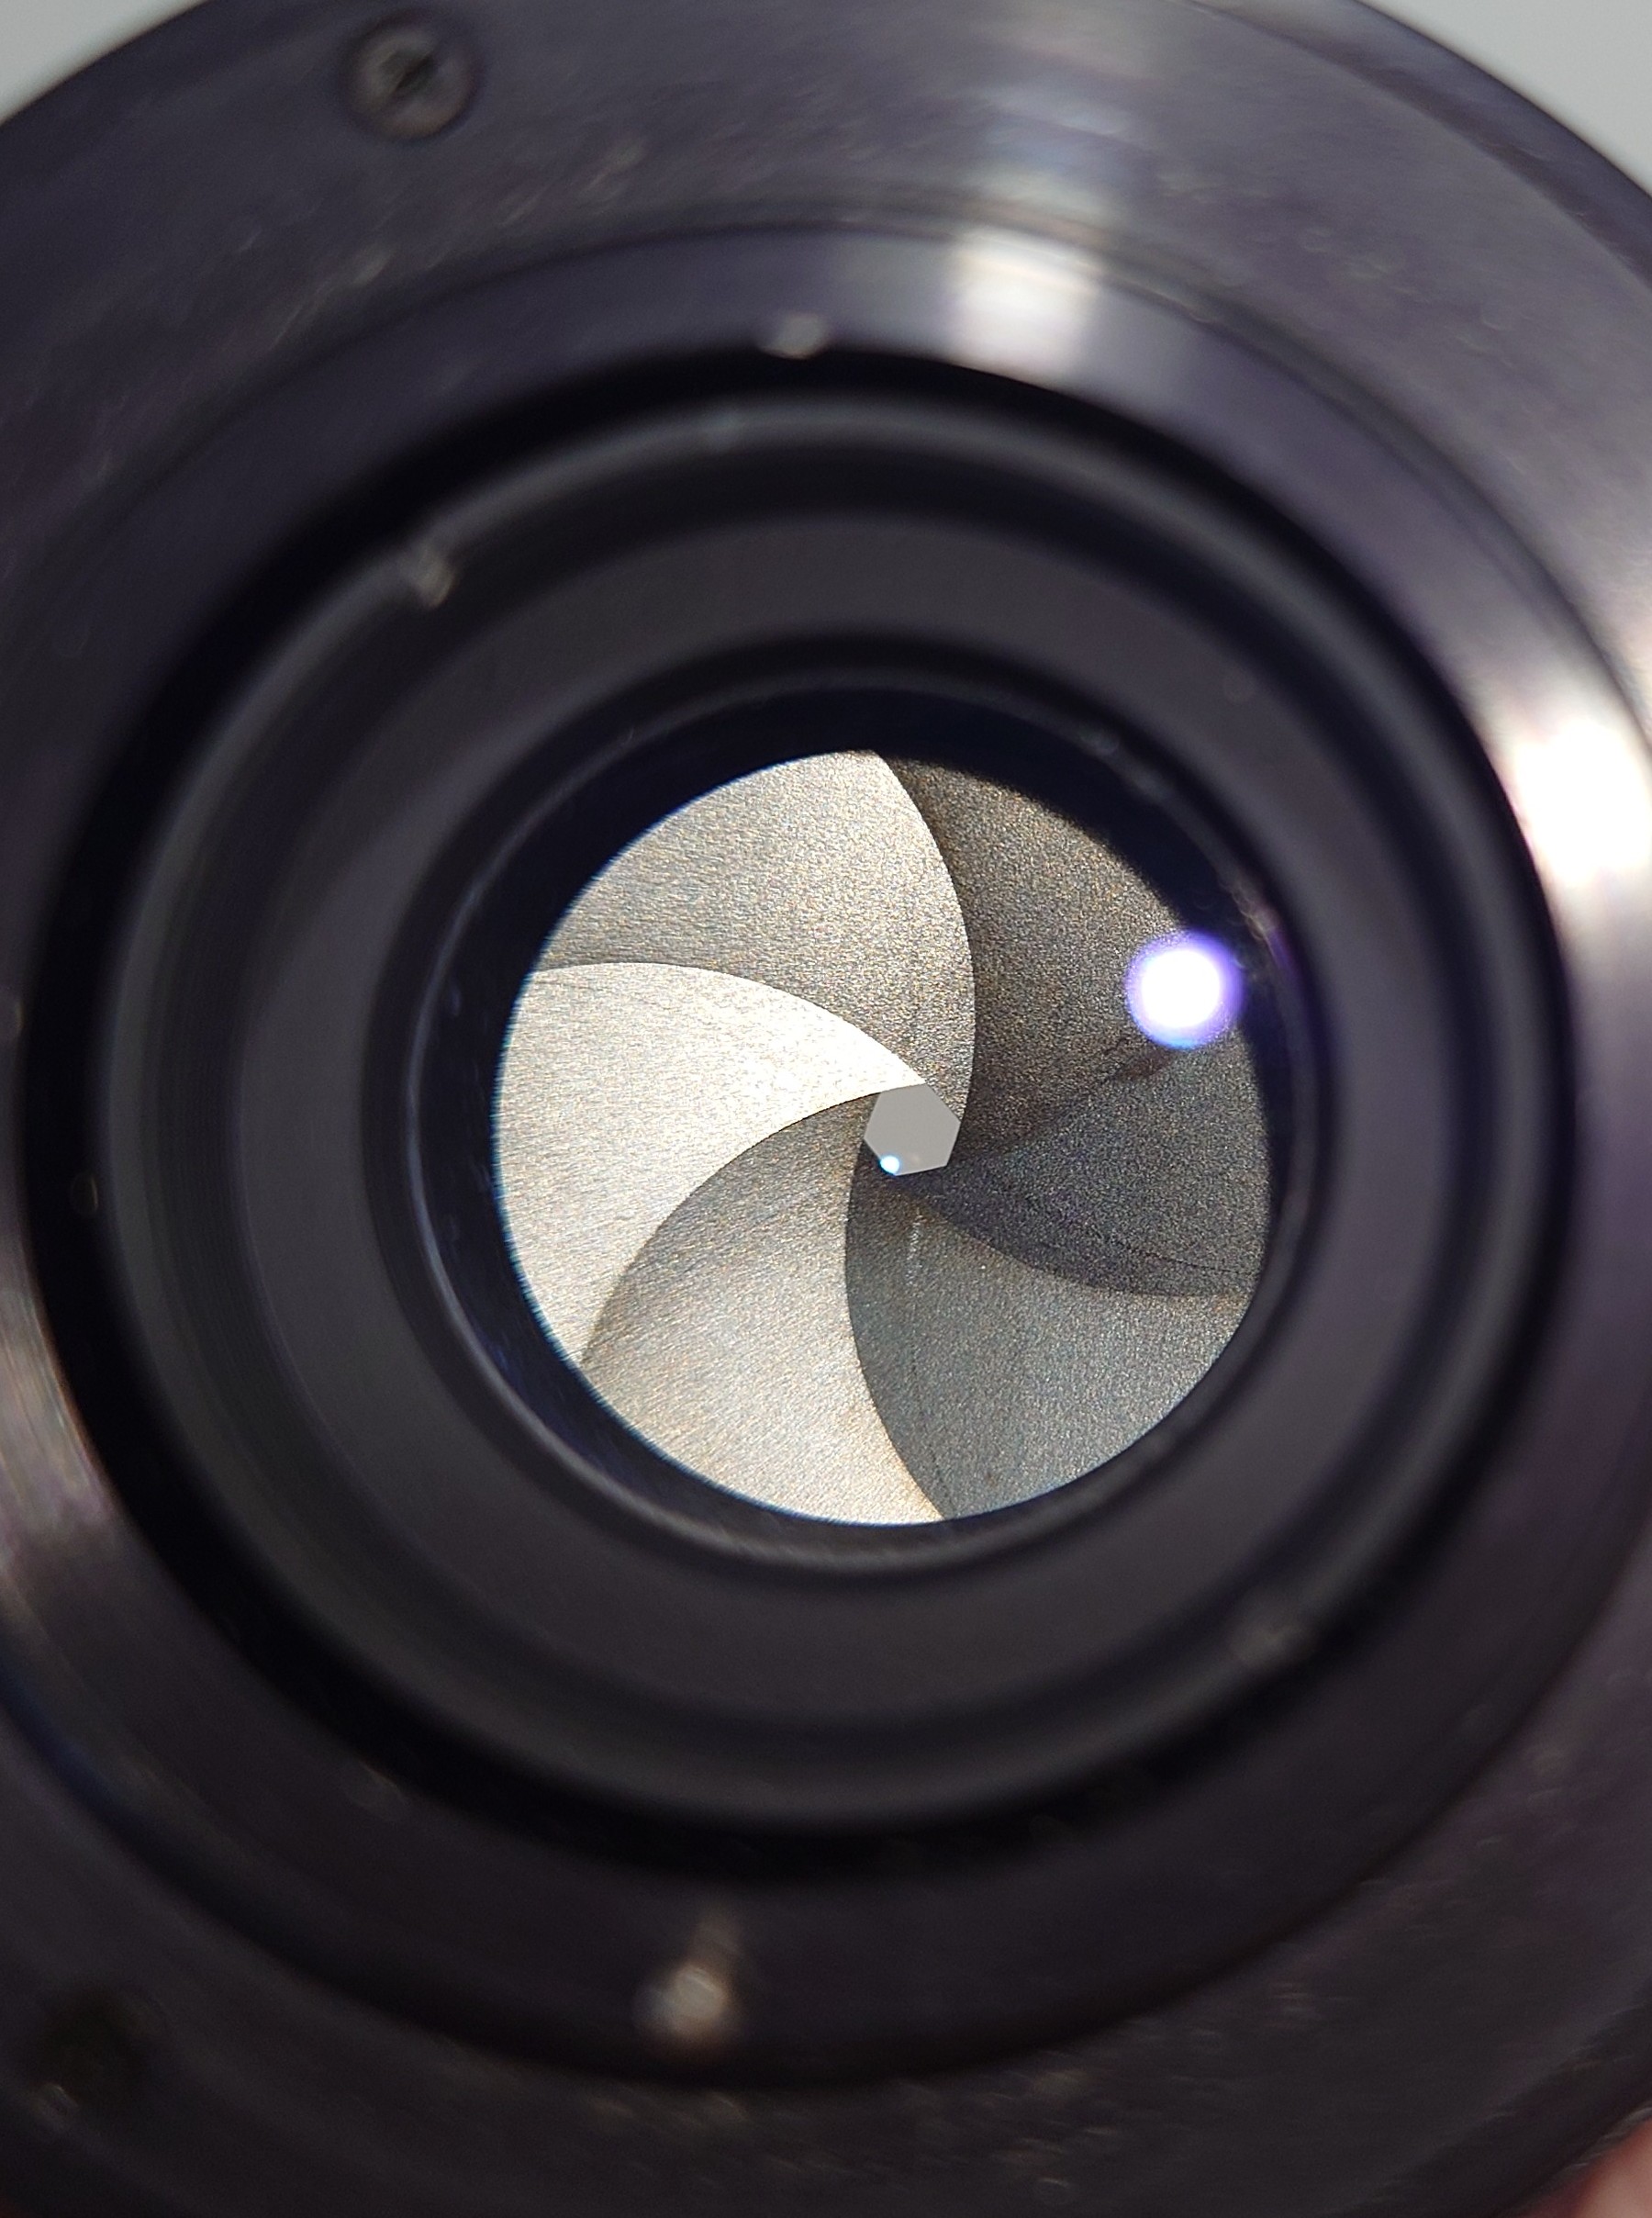
Aperture
Aperture is size of the opening in the lens, how much light it let’s through.
The key trade off here is depth of field, how much is in (or out of) focus. Wide apertures (A low “f” number on the lens setting) let in a lot of light and blur backgrounds allowing lovely bokeh to realise the full character of the vintage glass.
By contrast narrow apertures (A high “f” number on the lens setting) limit the amount of light and leave a big depth of field (a lot in focus). This is perfect if your camera relies on distance guesstimation because you get a big margin for error and also for a lot of landscape work but less good for portraits and creative work where subject separation is key.
As a general rule on vintage lenses around the 50mm focal length which is considered “standard”:
- <f4: Lots of light, shallow depth of field, good subject separation. Unforgiving of focussing errors.
- f5.6-f8: The all rounder, enough light to be usable and some margin for focus error.
- f11-f16: Needs a bright sunny day but provides huge depth of field, perfect for landscapes and very forgiving of focus errors


Shutter Speed
Shutter speed determines how long the camera exposes the film to light for. With a static subject and camera the final image is minimally affected but there are some key points.
Beware of blur. Expose the film for too long and you risk the camera, or the subject moving creating a blur. This can be a creative effect but otherwise is best avoided. As a rule of thumb…
- To avoid camera blur (handheld) the shutter speed needs to be at least 1/<focal length>. So for example on a 50mm lens 1/50s or faster.
- To avoid subject blur an absolute minimum of 1/30 or faster is a good rule for a posing static subject but for anything moving 1/100 is safer and fast moving subjects may need even faster speeds.
Note though that blur isn’t always bad. Set your camera up on a tripod by a lake and a 10s exposure can yield a glass-like finish to the water, or 5s of some grass blowing in the wind can create the illusion of motion in the image.


Putting it all together
Whether your camera has a light-meter, you have an accessory version or an app on your phone the answer is the same.
- Input your fixed film ISO into the camera and/or app
- Compose your photo
- Choose, your settings, either….
- For a camera meter try aperture/shutter combinations until that needle sits in the perfect spot. If you want a specific result set one value first then adjust the other, for example for a speicific depth of field set the aperture to f11 then adjust the shutter until you hit it. If you can’t get a good shutter speed to match, re-adjust the aperture again.
- If you have an app simply photograph the scene and it will show a list of aperture/shutter combinations giving the same, perfect exposure. Choose the one that works best for you based on the trade-offs discussed above.
- Take your photograph with confidence
Note that “perfect” exposure isn’t always the desired effect, under exposing for a moody night-time or indoor shot or overexposing for the vintage washed out look might be just what you want. Analogue photography is an escape from perfection.
Focussing
Focussing a vintage camera varies significantly depending on your camera of choice:
SLRs & TLRs: Convenience And Accuracy
With SLRs and TLRs you typically have some kind of focussing screen, a section in the centre of the viewfinder which will show an exaggerated version of anything out of focus. This could be a ground glass screen that is only sharp right on critical focus or a split image approach where straight edges only line up when perfectly focussed.
With an SLR you have the added advantage that you are looking through the same lens that will be used to take the photograph so you can place a lot of trust in accuracy, even after all those decades.
Rangefinders: A Joy To Use
I love rangefinders, there’s a reason Leica still uses this technology today. You see a split image in the viewfinder (occasionally there’s a separate finder) and as you focus 2 images overlayed start to line up and become one. Once they do you have perfect focus.
There are 2 kinds of rangefinder:
- Coupled: Directly linked to the lens focussing. As you focus the lens, the rangefinder is “coupled”. Stop when the images align and the lens is focussed ready for the photo.
- Uncoupled/Accessory: A rangefinder (either built into the camera or mounted in the shoe) which is not linked to the lens. You focus, read off the distance and then input that yourself into the cameras lens. The potential to be less accurate but still better than guesswork.
While a joy to use in working order rangefinders are delicate instruments, particularly early varieties. They can easily get knocked out of alignment. One tell-tale sign is when the images fall out of alignment vertically. In a working rangefinder the images should only be out of alignment horizontally and line up perfectly at point of focus. Otherwise there’s no way to know for sure beyond a professional service or just trying it out with your first roll of film.
Viewfinder Cameras: Guesstimation At Its Finest
Some cameras have no focus, just a viewfinder and a lens with focus settings marked in ft or m. Welcome to the fun world of guesstimation. Remember when we said narrow apertures keep a big range of distances in focus, well f11 is now your friend. Guess the distance, set it on the lens and hope your depth of field is big enough to cover the margin of error.
Don’t be put off though, for sunny days this is very doable….I haven’t yet lost a shot to focus on my loved Vito B in 10+ rolls of film. It’s just about choosing the right camera for the day, and that camera has been with me to many sunny holiday destinations where f11-f16 is the norm…it’s never failed me. Happy guesswork!
A Note on Depth Of field
If you want to understand what range of distances a given focus/aperture combination will give you, most cameras have aperture marking by the focus ring. This indicates depth of field. So for example either side of the line that shows the focus setting you’ll see numbers like “8 11 16 22” in both directions. This is a guide, so at f16 aperture, every distance on the focus ring between the two 16s will be in focus, at least enough for a 6×4 print.

Composing
Composing is the easiest part, look through the viewfinder in whatever form it comes for your camera and you see the image. Things are nearly that simple, with a few points of note:
SLRs: What You See Is What You Get…Nearly
A major reason SLRs gained popularity is you see through the taking lens, you literally see what the film will see. The only minor caveat here is that most early SLRs did not provide complete coverage, for example you may only see 95% of the frame the film will see. This is never a bad thing, you will only ever have more of the image than you thought and can crop that 5% later if you really want to.
TLRs, Rangefinders & Viewfinder Cameras: As Close As It Needs To Be
Now we are not looking through the taking lens, rather a similar lens near to it. This means what you see is slightly different to what the film sees. At longer distances this is typically not a problem in practice however, as you get closer to your subject parallax means the difference in framing will increase. A good way to guarantee your subject is in the frame is to step back to leave a margin for error around the subject.

Advancing The Film And Tensioning The Shutter
Always read your camera manual, shutters are delicate and can easily break if not treated properly. As a rule of thumb only ever tension the shutter just before you take a photo as shutters can wear if left in a tensioned state for prolonged periods of time.
In many 35mm cameras tensioning the shutter is part of the film advance mechanism so my habit is to advance the film before, rather than after each photo, but each photographer and camera is different.
Some cameras have a double exposure prevention system, others (particularly common in medium format cameras) do not. Get into a habit of always advancing the film either before or after you take a photo. This way when you come back to the camera you will always know if you need to advance first or if it’s already lined up on unexposed film ready to go. There’s no right answer, find what works for you and be consistent.

Embrace The Mistakes
Manual photography is about trail and error, happy accidents and enjoying the process. Don’t worry about perfection, don’t stress about the details, just enjoy…the real fun is in the learning.

Leave a Reply